Let’s do some real push ups!
![]()
SO… YOU WANT TO DO SOME REAL PUSH-UPS, RIGHT?
Let’s see why it is so crucial to make the push-up (or the press-up if you wish) in a correct way and what may you gain with it!
Why are push-ups so important in Calisthenics?
Well, we should ask first – what is so great about the push-ups anyway. To put it simply – it makes upper muscles in your body stronger, along with shoulders, triceps and chest. Push-up workout makes muscles stronger and thicker, similar to what the same amount of traditional bench press training can do. But one of the reasons why the proper push-up should be part of every calisthenics routine is the added benefit of engaging the core and lower body as well.
Think of the perfect push-up as a first and basic step to other, more complicated, movements. You need only your body to perform it, you can do it everywhere, and yet it can activate almost every muscle in your body. And – as you will see, it can be more fun than it seems.
 How to do the push-ups right: part 1 – setting up
That is the question, isn’t it? We’ve already established that the push-ups make great exercise but here’s the catch – you have to do it right. The proper push-up form is the key. So, what should you focus on when reaching for the perfect push-up?
- Hands: positioned slightly wider than the length between your shoulders and angled in a way that makes you most comfortable. When looking for a way to relieve your wrists, try turning the hands slightly inward or just do the push-ups on your knuckles (semi-soft surface preferred).
- Feet: set up in a way that feels right. So, in other words, it depends on you if you put them shoulder-width apart, or as close as it’s possible. But for the stability’s sake, it’s best to keep them apart.
- Body: extended so that you can balance on your hands and toes. Your body should be kept in a straight line – no sagging, no arching!
- Abs and core: contracted and tightened! Just pull your belly button toward your spine, and it should be OK.
- Head: in line with the body! Look at what’s in front of you, not down at the floor. It will help you keep your body in line.
Now you’re ready.
How to do the push-ups right: part 2 – completing a push-up
Now, when you know how to keep a proper push-up form, you can begin the workout.
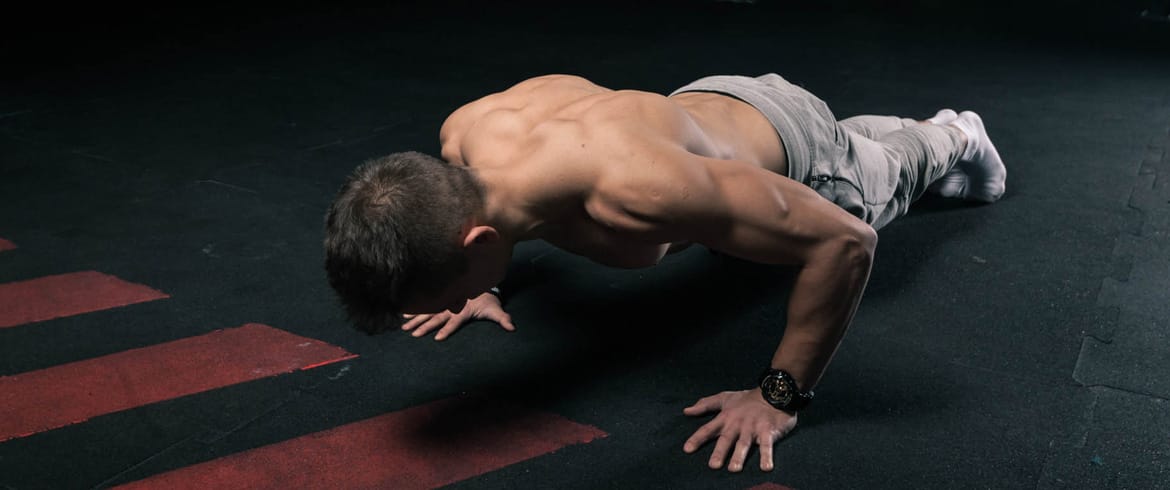
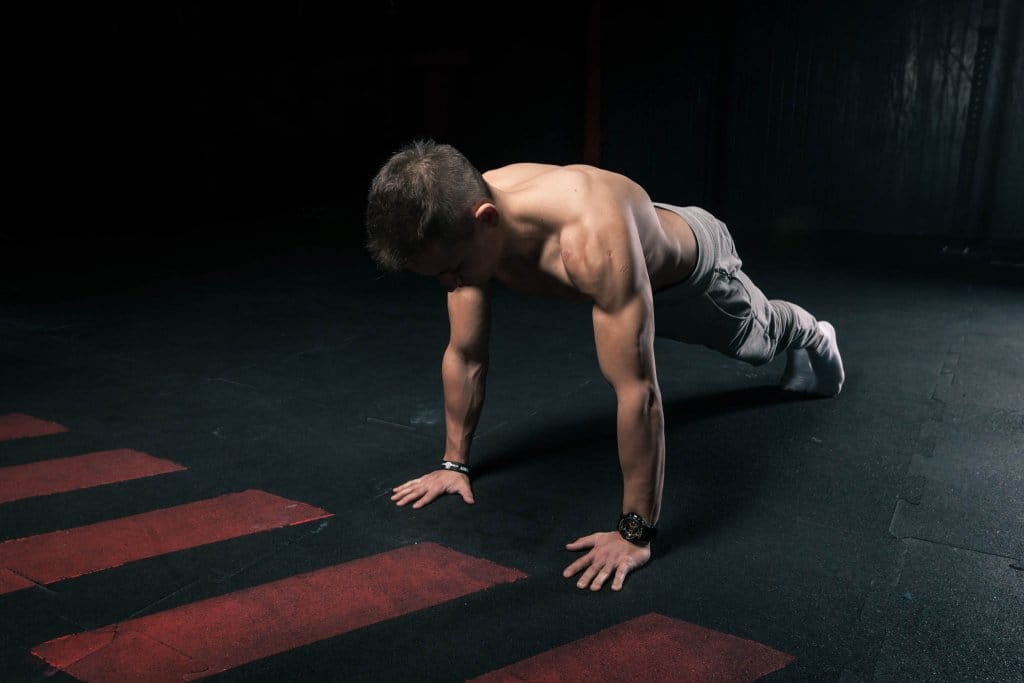
- In the beginning, keep your arms straight and supporting your weight.
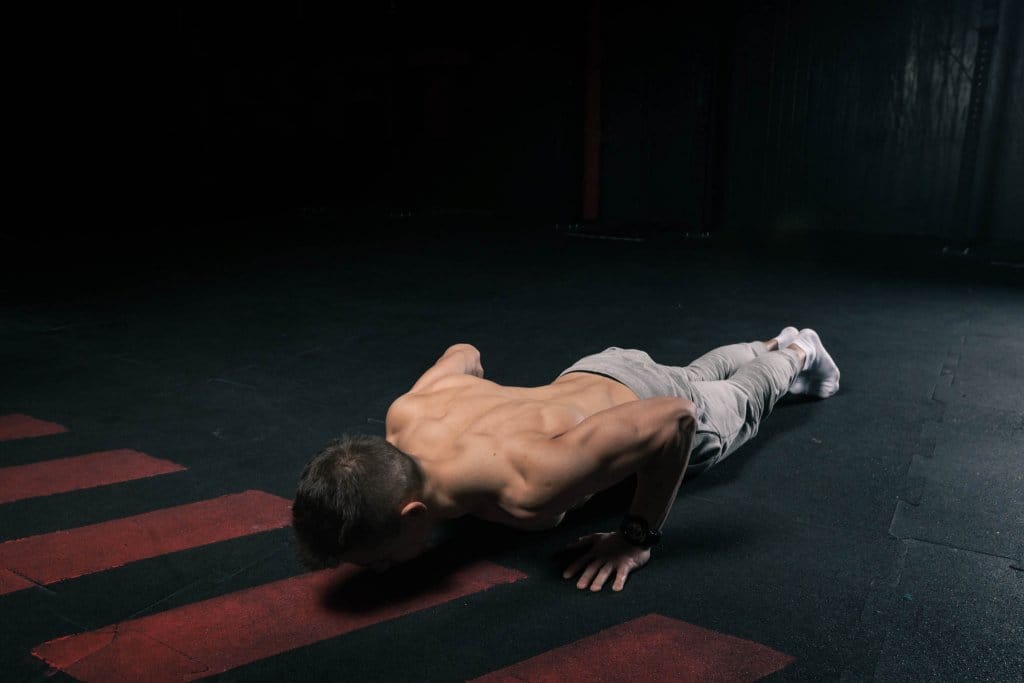
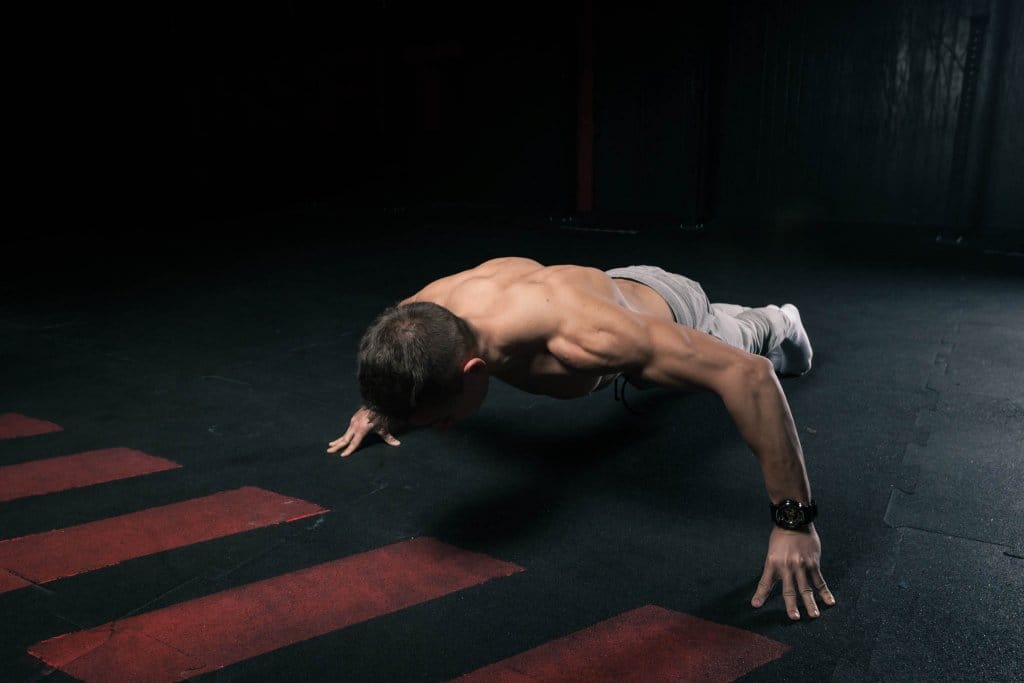
- Start bending your elbows and inhaling at the same time. Lower yourself until the elbows are at a 90-degree angle or smaller.
- Contract your chest muscles and start pushing up to the start position while exhaling.
- Even in the end of a push-up keep, the elbows bent slightly, don’t lock them out. In other words: your elbows should be straight but not hyperextended.
That’s it! Now you can just start the process from the beginning. And do it again and again…
Oops! Something went wrong
OK, but why all the details? Is it that hard to do a proper push-up? In the beginning, it really can be. That is why it’s best to know what is to be avoided at all cost during your push-up workout. Let’s look at the list of common push-up mistakes and the ways to avoid them:
- Problems with the body line. The push-ups – as said – are a total-body move. So when your lower back starts sagging or arching keep your focus on tightening your glutes and legs.
- Forgetting about Breathing. This is one of the most important parts of the push-up workout, and unfortunately, there’s no better tip than just: way down – inhale, way up – exhale.
- Flying elbows. Keep them close to your body and do not let them fly out. If your elbows start forming letter T along with your arms and shoulders – take five.
- Neck pain. When you’re suffering from neck pain during a push-up, it means that you strain your neck and your forehead lowers first, not the chest as it’s supposed to be. You should immediately shift your head’s position into neutral one – just stare in front of you, not down at the floor.
- Wrists not under shoulders. At first, it might even feel easier to shift your weight back slightly while doing a push-up. But as it takes a load of workout off your chest (literally), it’s a bit like cheating and makes the push-up workout less effective in general. Let your shoulders sit directly on top of your wrists then!
It all sounds splendid but for one thing…
So now you know how to do a push-up. And what if… you try and find out you just can’t do it (hey! It can happen!)? First of all – don’t give up, that also can be fixed. You can start by doing incline push-ups: instead of the floor, put your hands on a wall in the exact same manner as described above: slightly wider than shoulders. Then contract the abs and tighten the core. Keep the hands on the wall and take a step back just to have your arms fully stretched. Lower yourself to the wall and push back. After a while, you can progress to other inclined surfaces (tables, chairs) and do your incline push-ups there. Put your hands on an elevated surface and do everything as described above. Using the stairs is a good idea – as you progress with your incline push-ups workout and repetitions, move your hands to lower and lower steps. Soon enough you’ll be able to start regular push-ups workout. But of course, you can also put the incline push-ups to your workout routine!
Do not let boredom in!
Speaking of regular – there is more than one variable that can keep your routine always fresh and varied. But it’s not only about fighting off the boredom – by changing the exercise – even slightly – you can increase workout’s benefits. Of course, in the beginning, you should stick to the regular ones, especially if you’ve never done them in proper push-up form before. But as soon as you feel confident to do some exploring… do it by all means! So let’s see what is there for you yet to discover about perfect push-ups.
We’ve already discussed one variation, meaning incline push-ups. But there is also decline push-ups version – it’s when your legs are elevated instead of arms. Decline push-ups workout focuses more on the upper chest and front shoulders muscles.
- Bent knee push-ups: you can perform the push up on the knees rather than on the toes, but don’t bend at the hips and try keeping them in a straight line with the arms and knees.
And when you’ve tried all of the above… just let your imagination roam free:
- Try to do some tapping: pause at the top of the push-up and tap one hand with the other. Then do the same with shoulders or even thighs. Then you can do something really interesting: bend your knee, bring your foot closer to the hip and pat the sole! With every rep change the tapping hand. This tapping variation of a push-up vastly improves balance.
- Raising arms or legs or rotating the whole body: when you complete the push-up, try raising your arm in front of you. That gives some extra boost to the core muscles. And when you feel the need to work some more on your balance, perform the push-up with one leg off the ground. You can also, when the push-up is completed, rotate the whole body with your arm straight in the air.
- Perform your push up on your knuckles. Then try performing it on two fingers
- If you want to give your shoulders and biceps some extra workout, point your fingers down your feet and put the hands slightly farther down the torso.
- If you want to work on your non-dominant side more, just place one hand slightly forward than the other.
- And then you can start changing your hands one after another and move forward while performing push-ups.
- For better flexibility try the typewriter push up: lower your body and then move from side to side by straightening the opposite elbow. You can also try sliding one hand way out to the side while lowering and bringing it back while pushing back up.
- You can vary the speed of your lowering and pushing back up – for example, lower your body slowly but push back up as quick as possible.
- That one is often called “Spiderman push-up”: when lowering your body bend the knee up and toward the elbow. You can keep it in the spot for few push-ups and then switch to the other one or keep bringing it forward and back for each rep.
- You can also bring up the knee under your body instead of on its side. That will give the abdominal muscles some extra workout.
- You can also give some wicked kick out to the side to strengthen the quads, abs and improve flexibility.
- And here’s when it gets even more interesting. You can try pike push-ups with butt risen into the air. And when you’re doing it near the wall try elevating your legs steadily. That’s bringing the decline push-ups to the very new level.
As you can see, there are lots and lots of push-up variations. In fact, you could probably do a different push-up form every day for months! It makes push-ups ideal exercise to make your workout routine more personalized.
One last thing to remember:
Put quality above quantity. When you find it hard to keep the push-up form as it should be, you’re done. Just like that. Sloppiness will make your workout effective and makes it hard to keep track of your real improvements. So keep up your proper push-up form!
dude its great thanks for the program