LET’S FIGHT THE TIGHT
Road to successful training
There are several obstacles on your road to successful training – lack of strength, to little knowledge of proper exercise techniques, injuries, and at last: mobility and flexibility. There are lots of definitions specifying those terms – some people speak about the mobility of joints, meaning joints going through the bunch of ranges vs flexibility of muscles. Others claim that mobility is about how you move your body in a space, how your joints work – is it active and in control – whereas flexibility is more passive and seems to indicate how well can you stretch or if you can do a proper split or not. Generally, we can assume that mobility do involves movement, and flexibility is all about getting in and out of specific position comfortably. All in all, it is rather a semantics case than a real difference in approach. But one thing is for sure – you don’t go anywhere in your mobility workout when your muscles are too tight. So if you feel that your joints are too stiff and you should work on your
mobility – by all means, read along! When you have mobility problems, fell like something is blocking you – then you have some work to do. Otherwise there’s no need to focus on this aspect of training too much.
1. Stretches – all you should know about them
There’s a long and animated discussion going on whether stretching works or not. Well, to make matters short – it does. But as always there’s a “but”. First of all, you need to understand what you’re doing. You “stretch” your muscles to make them lose the unnecessary tension, not to make their fibres longer. And the aim is to increase the functional range of motions of various joints in various
positions. And here comes the but – you need to do it right for yourself, which means that you sometimes won’t be able to perform the stretch the same way the person next to you does. Here are some tips you can use when you want to work on your flexibility by stretching:
- – In the beginning, keep your focus on the pelvis and spine.
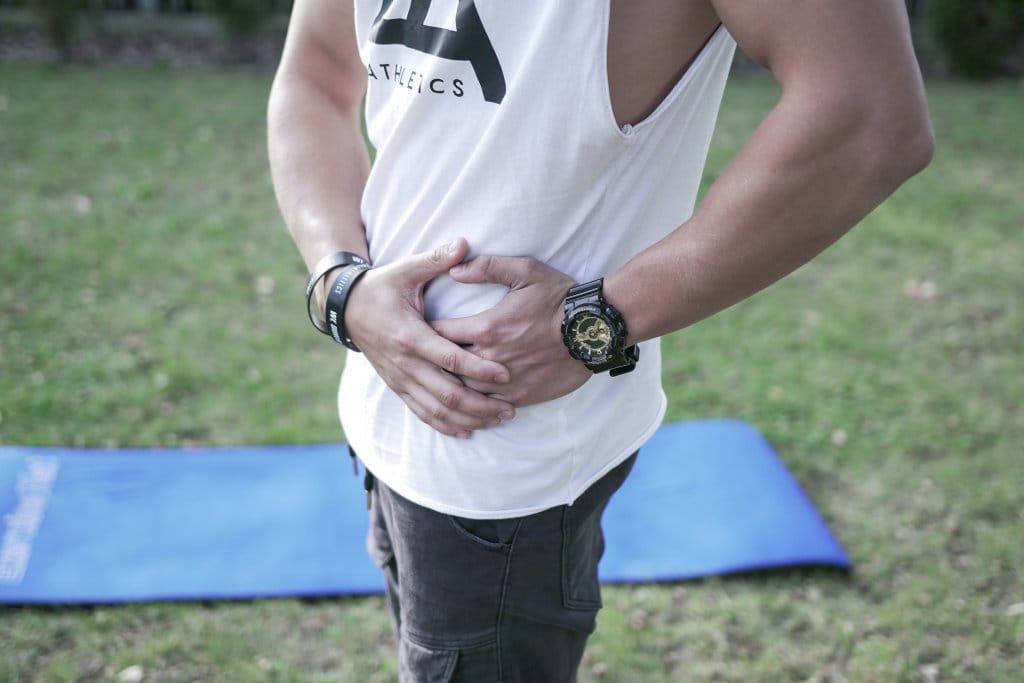
- In most cases, the spine should be straight or slightly extended, the pelvis slightly tilted forward or backwards, depending on a stretch. And here’s the thing – to set the spine and pelvis right you’ll sometimes need to bend your knee or elbow or change the position of your shoulders. And that’s OK.
- Your main goal is tomaximize your stability.
- You shouldn’t be stretching when you’re in a beginning position. I don’t know whether I made myself clear – you need a room for the exercise, when you feel stretching and tightness in your beginning position you should adjust it. Back off a little and make yourself a room for stretch.
So, for example, when you’re doing a hamstring stretch, you can do it on a floor (one leg tucked below your butt, the other stretching) or sitting on a chair (one leg bent and supported, the other stretched and exercised). When you don’t have enough connection to the ground during a stretch, you should fill in the spaces with towels or pillows to make you more comfortable. That way you can
do a modified pigeon stretch (one leg bent in front of you with knee on a floor, the other behind you, knee on a floor as well, you’re stretching yourself by moving your upper body back and forth) with propping your knee or thigh – wherever you feel the need to do that. Even the pancake stretch (legs straight, spread for a straddle, you work your chest to the ground) can be manageable when you can bend your knees slightly and use the support of a chair or a coffee table. You can also put a cushion underneath a back part of your pelvis. When you apply those rules to your stretching, you’ll get the most out of every stretch. There are also dynamic stretching exercises:
- You can stretch your hamstrings, shoulders, thorax and calves while doing the Bear exercise. Start in a downward dog position and move your right hand and left leg simultaneously and vice versa. How does it work – when you want to stretch your calves just lock your knee and drive the heel on the floor.
- Your hips, calves, adductors, upper back and lats may benefit from the Monkey exercise (start in a deep squat position, then place your hands on the ground in front of you and to the side. If you are moving to the right, you’ll place your left hand in front of your right foot, then hop your feet to the right, landing with your left foot behind your right hand. If you have tight lats, for instance, a variation of the monkey that would be great to work on is the monkey cartwheel, where you reach your arm overhead to create the momentum for the cartwheel.
 Next phase – flexibility and mobility exercises
When you get rid of some tightness of your muscles, you can include the mobility flexibility training into your daily routine. There are exercises that target the specific parts of your body that you’d like to work on their mobility. Let’s look at the possibilities of mobility exercises for your hips and shoulders.
- Shoulder mobility routine. You can start from quadruped shoulder circles. That way you can adjust the pressure on your shoulders easily. Start on your hands and knees with your knees
just beneath your hips and your hands just beneath your shoulders. Press into the ground and keep your elbows straight as you shrug your shoulders up toward your ears, back toward your hips, down away from your ears, and then forward toward your head, creating a nice circle. Do these circles in both directions, and then you can try doing the circles with alternating shoulders. Watch out for your pelvis! Don not let it rotate as this kind of movement would be counterproductive. Then you can proceed to L-Arm stretch: Start by lying on your stomach with one arm by your side. Stretch your other arm across your chest with your palm facing up and without letting your shoulder shrug up toward your ear too much. Use your shoulder muscles to pull your chest down toward the floor. The next exercise is called Prone Bent Arm Chest Stretch. You start on your stomach with one hand on the floor, and your elbow bent. Shift your weight toward your hand to feel a stretch in your chest. You can also do some tall kneeling arm rises (also with the “to the side” version), and Clasped Hands Extension, when you start in a seated position and clasp your hands behind your back. Then straighten your elbows. Sit up with a tall posture as you pull your arms up and back. When you plan your mobility routine, you can do each exercise 5 times and then hold the stretch for 15 – 30 seconds. - Hip mobility routine . Let’s begin with some… yes, hip rotations . Lie on back with both knees bent. Cross one ankle over the opposite knee. Move in and out of the stretch by rotating the hip in and out. For the hold, use your hand for assistance to press into the knee. It’s a good exercise for the beginning and serves as a warm-up as well. Remember to avoid any pain or tightness – if you experience any, move the exercising leg so as it’s resting higher up on a chin. After some circles come… yes, no surprise here either – stretches. You can perform a Piriformis Stretch (cross one leg fully over the opposite leg, so your knee is crossed over your thigh. Pull the crossed knee toward your opposite shoulder, stretching the piriformis muscle) or Butterfly stretch (sit up with feet together, moving the knees down toward the ground. Use your hand to press into the ground and move your groin closer to your heels).
But how does it look in practice – mobility workout of the day?
Here are some specific mobility workout examples that can be an inspiration for you when you’d like to implement the mobility workouts to your routine.
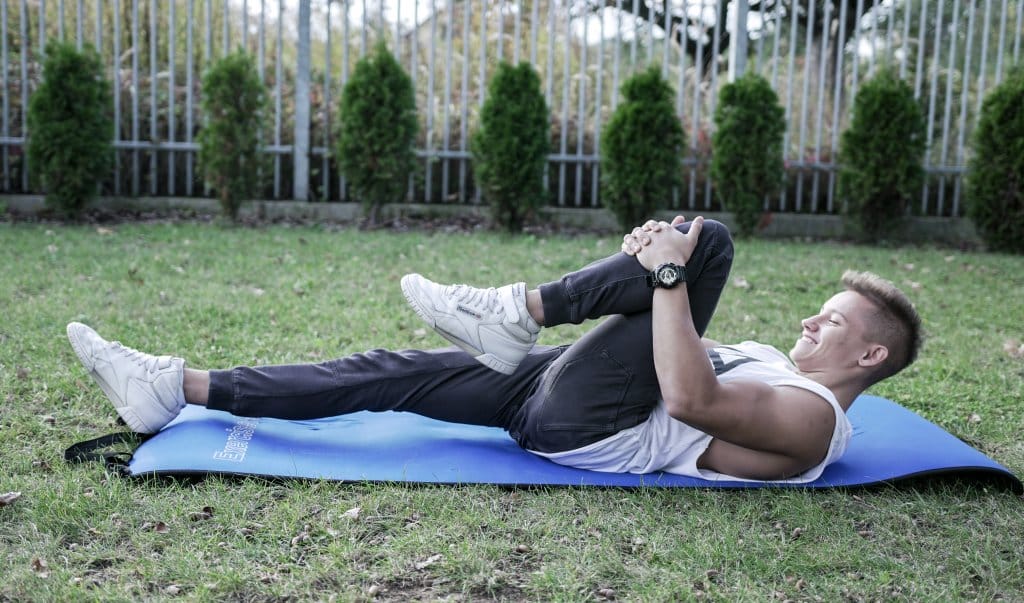
- You can start with a knee to chest exercise, the standing version. Stand tall and actively bring one knee up to your chest as high as you can, then assist even further with your hands. When you’ve lifted as high as you can, grasp your knee and shift your hips forward you can do repetitions actively, then hold for 5 to 15 seconds, keeping your supporting leg as straight as possible. Then, switch to the other side. After that, you can face stable support and place your foot as high as you are comfortable with your knee able to bend ~40 degrees as you lean forward into the support. You can also face to the side of the support, and place your foot with that leg’s knee as bent as you comfortably can.
- Then go for the front scale. Remember about basic points of this exercise: relax your shoulders, lock out your legs. Keep your back straight and pointed toes.
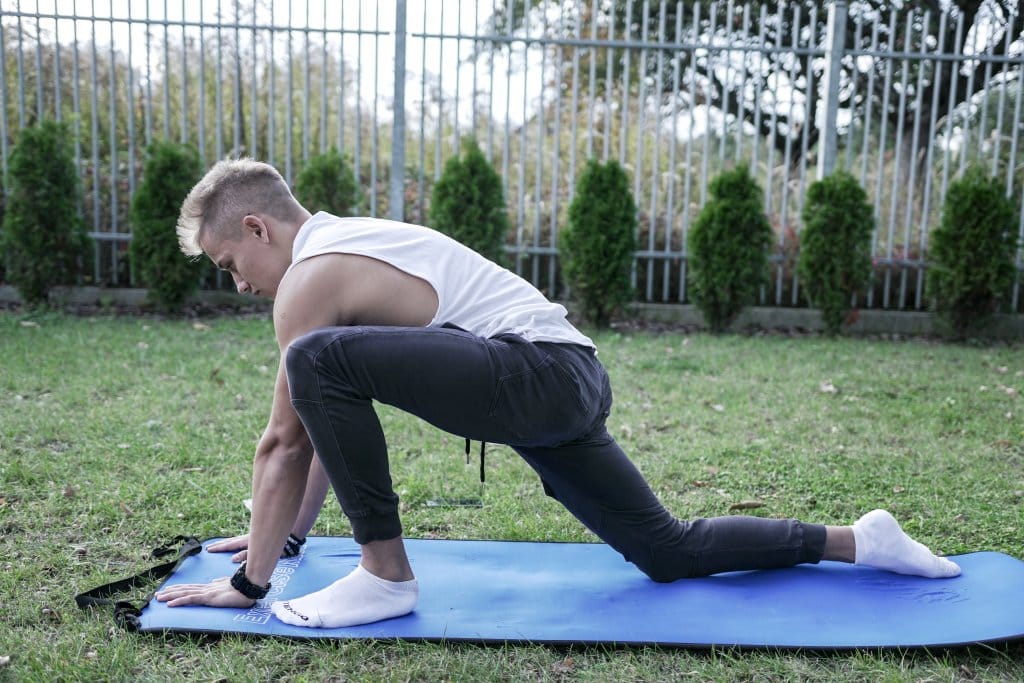
- And another example: Start in a kneeling lunge, and adjust the length of your stance so you can place your palm (or fist) on the ground with your arm locked straight. Your arm should be at about a 90-degree angle to your chest and the ground. Rotate your opposite shoulder as much as you can into and out of the stretch. Repeat 5 to 10 times and hold on the last repetition for 5 to 10 seconds. Then, switch to the other side.
- And then you can start linking the exercises into the sequences: start in a kneeling lunge position, with one knee up and one knee down. Squeeze the glute of the rear leg to feel a stretch in that side hip flexor. Then, drop the front leg to the ground so that it is bent at a 90- degree angle in front of you. Let the back leg bend, however, is comfortable for you. Keep your chest up and your hips square. Hinge from the hips and pull your body forward over your leg. The dynamic action is pushing the side of your lower leg into the ground. Come up into a squat and relax there (at whatever depth is comfortable for you) for 15-30 seconds. Repeat the sequence on the other side.
